Showing posts with label TUTORIALS. Show all posts

Wednesday, January 7, 2015

TUTORIAL - DRAG n DROP


Step 1:

Open a new Flash file.

Step 2:

Draw the objects/background or import the existing images to the stage.

Step 3:

Right click for each of the apples and select Convert to Movieclip.


Step 4:

Add Actionscript for all of the apples by pressing the F9 on the keyboard and type the script as below:


Step 5:

Before we save the file; Control > Test Movie first.


# You can also watch the tutorial of Drag & Drop in here.


TUTORIAL - MENU BUTTON


We can create a Main Menu that contain action of:

a) A button that navigate from one page to another.

Step 1:


Create/ Insert a button by selecting Windows > Common Libraries > Button.


Step 2:

Add Actionscript to the button by either pressing F9 on the keyboard or by adding it through the Actions panel. Then, type the script like below:

To move to Next Frame:

Or

To move to Previous Frame:

b) A button that navigate from one scene to particular frames on different scene.

Step 1:

Create a button like Step 1 above.

Step 2:

Add Actionscript to the button by either pressing F9 on the keyboard or by adding it through the Actions panel. Then, type the script like below:
# Where scene2 is Scene’s Name and 20 is Frame’s Number.

c) A button that navigate users to the webpage:

Step 1:

Create a button like Step 1 above.

Step 2:

Add Actionscript to the button by either pressing F9 on the keyboard or by adding it through the Actions panel. Then, type the script like below:

# Watch the tutorial of MAIN MENU BUTTON in here.


TUTORIAL - INPUT OF QUESTION

Step 1:


Open a new Flash file.

Step 2:

Create the title and the questions using the Text Tool from the Tools Panel and select the text type as ‘Static Text’.

Step 3:

Using the same step as in Step 2, make an Input Text for the user to enter the answer for the question and type ‘answer’ in the ‘Var’ box. Make sure to click on ‘Show Text Border’ in the Properties Panel, so that the user know where to type the answer.

Step 4:

Create a button next to the Input Text and Add Actionscript to it for the responses that we want to appear after the user enter their answer by adding a button next to it.


Step 5:

Next, create a Dynamic Text box for the responses of the answer given by using the same step as in Step 2 but in the Properties Panel, select Dynamic Text and for the variable’s name@’Var’, type ‘respon’.

Step 6:

Before we save/ publish this file, test it by selecting Control>Test Movie.

If user give the correct answer, the response will be:

If the user give the wrong answer, the response will be:


TUTORIAL - MULTIPLE CHOICE QUESTIONS

Step 1:

Open a new Flash file.

Step 2:

Select ‘Text Tool’ from the Tools Panel and from the Properties Panel at the bottom, select ‘Static Text’ for the text type. Then, type down “TEXT AND GRAPHICS”.

Step 3:

Repeat Step 2 for making the questions and its multiple answers.

Step 4:

Draw a circle using the ‘Oval Tool’.

Step 5:

Convert the circle into symbol by selecting Modify>Convert to Symbol and name it ‘button’.


Step 6:

Copy the circle ‘button’ for all of the multiple choice answers.

Step 7:

Create a dynamic text for the response if the selection answer is correct or wrong.

Step 8:

Write multiple choice answers of A, B, C and D inside the circle ‘button’.

Step 9:

Then, select the circle ‘button’ of the correct answer (here the correct answer is A) and add actionscript (look the figure below) to it so that when the user click the button, it will appear the response as well. 


Step 10:

For the wrong answer selection, click the button (here B, C and D) and add actionscript as below:
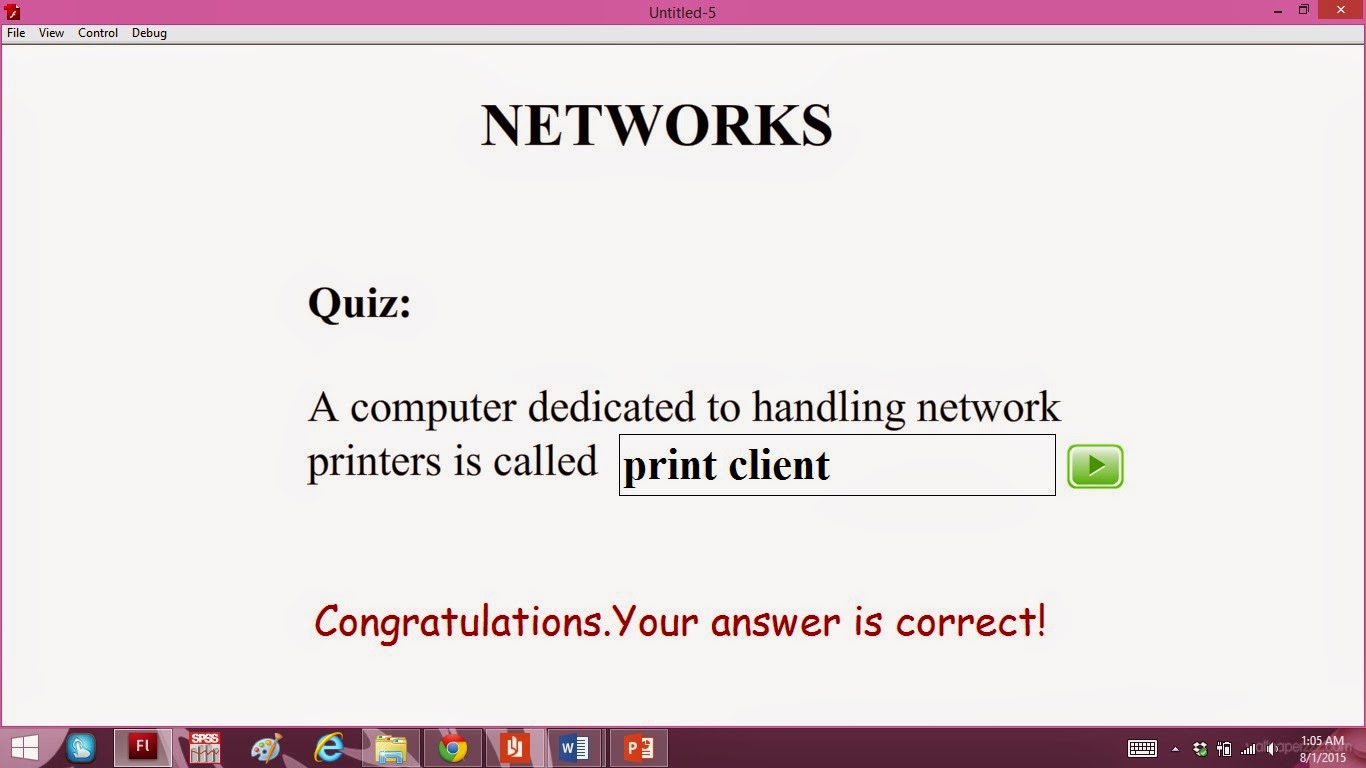
Step 11:

Lastly, before we publish this file, test it 1st by selecting Control>Test Movie.

If the answer is right:


If the answer is wrong:


TUTORIAL- TRACING IMAGES WITH ONION SKIN TOOL

Step 1:

Open a new Flash file.


Step 2:
               
Import the image to be trace by selecting File>Import to Stage.


Step 3:

Resize image by using the Free Transform Tool.


Step 4:

To be able to trace the image, add another keyframe by selecting the frame next to the current keyframe and select Insert>Timeline>Keyframe.


Step 5:

On the 2nd keyframe, delete the image and click on the onion skin tool.


Step 6:
                
Use the any Drawing Tools (I choose Pencil) and trace the image.


Step 7:

Remove the original image by selecting the 1st keyframe>right click>select ‘Remove Frames’.


Step 8:

Turn off the onion by clicking the onion skin tool button.


Tuesday, December 9, 2014

TUTORIAL - ANIMATION (Frame by Frame)

Step 1:

Open a new flash file.

Step 2:

Draw any character in the stage.

Step 3:

Change the layer name to layer ‘cat’ by double-clicking on the word Layer 1.

Step 4:

Click on Frame 2 of the timeline. Select Insert > Timeline > Keyframe from the menu. This will put a new keyframe in Frame 2.

Step 5:

To create the animation, change the image in Frame 2, by adjusting the animal mouth by selecting the black arrow tool and moving it close to the mouth or other facial feature. It will change and you will be able to alter mouth or feature’s shape.

Step 6:

To check out the result of the animation, select Control > Test Movie.

The Result:

#   You can watch the tutorial of Animation (frame by frame) in here.